Verified demo: Git to public URL
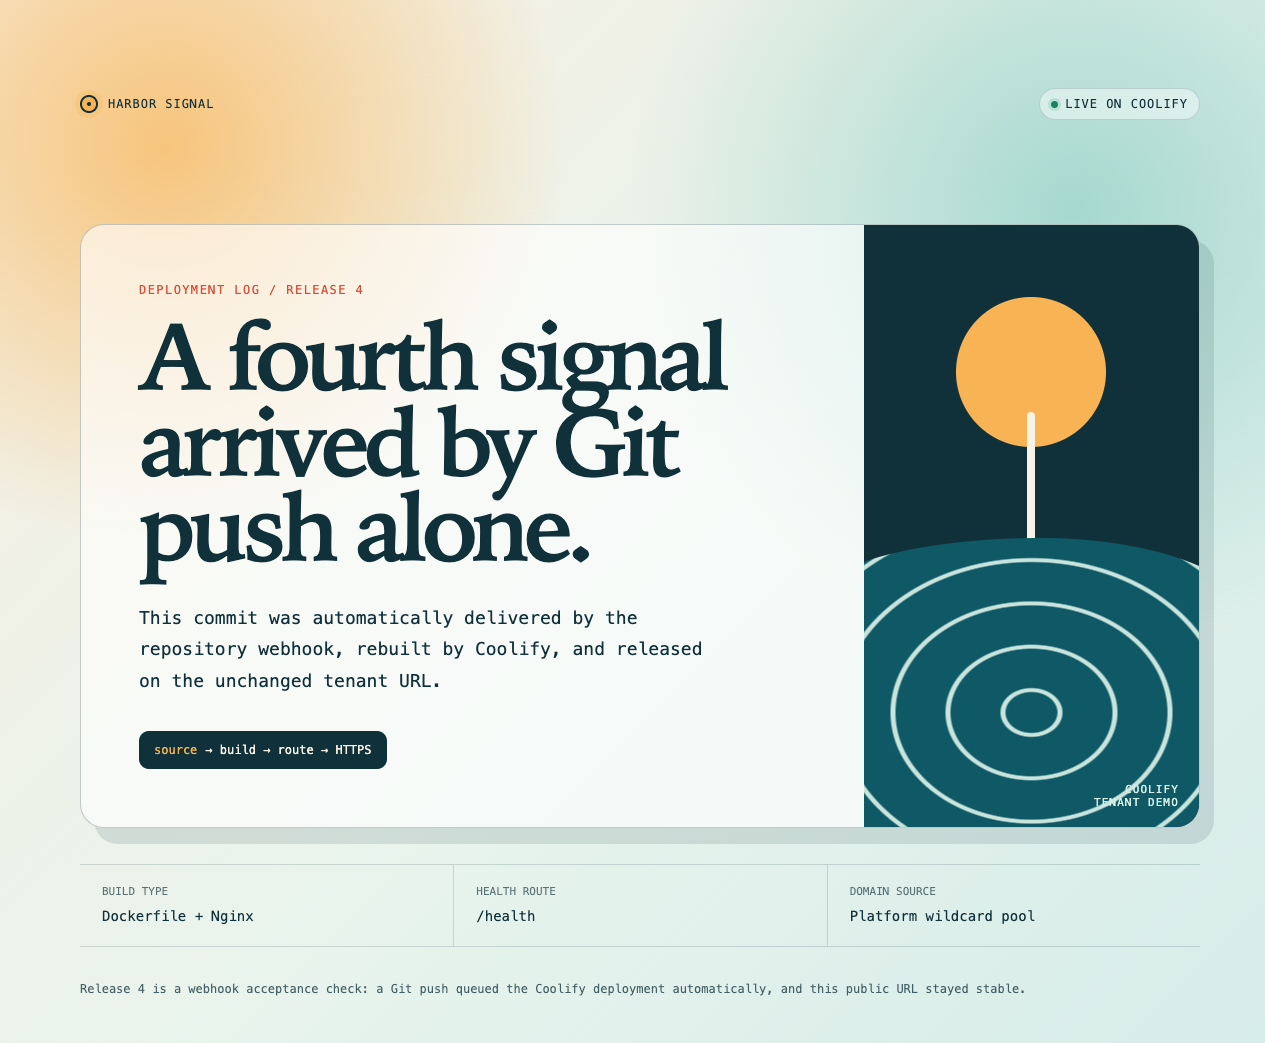
This is not a hypothetical flow. The page below comes from a real Coolify deployment: source was pushed, Coolify built its Dockerfile, the application kept its automatically allocated tenant domain, and the result is served over HTTPS.
-
Public source
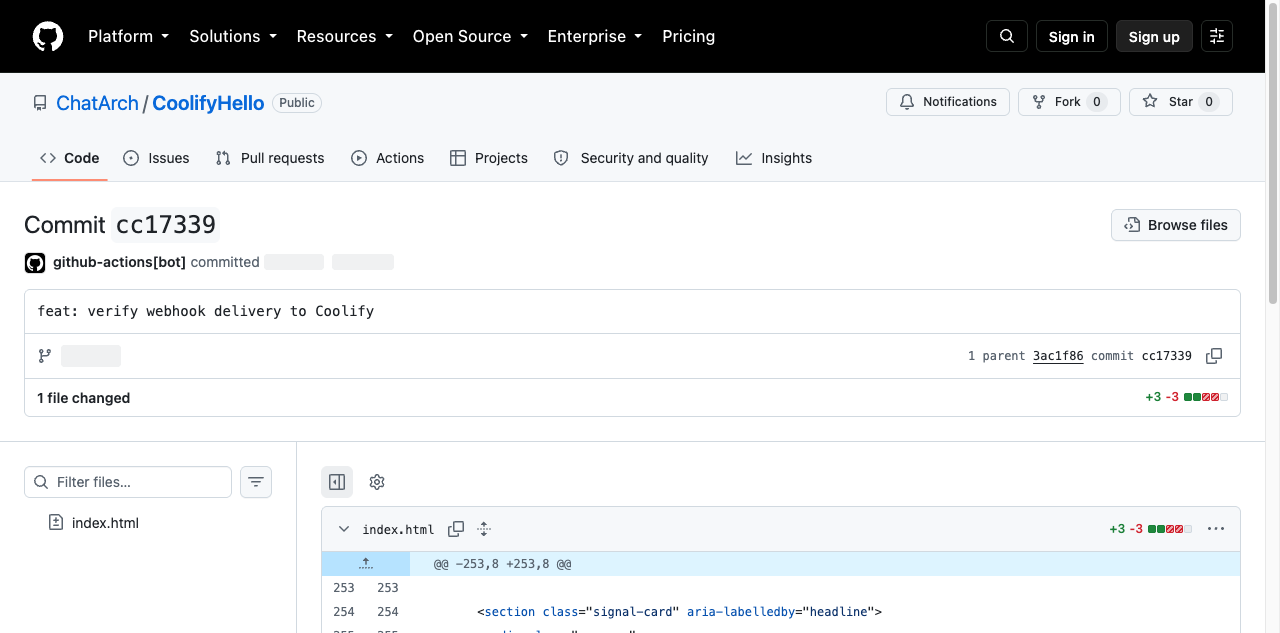
ChatArch/CoolifyHello is the real Git repository for this case.
-
Stable public address
-
Readable deployment evidence
Both the initial commit and the final Release 4 commit were built by Coolify. Release 4 was queued automatically by the GitHub push webhook while the public URL remained unchanged.
The final commit is also independently readable in the public repository:
What this proves
Once the platform is configured, later projects do not need a per-project DNS record, Nginx rule, or certificate task:
*.cool.wzhecnu.cn
        |
        `-- Coolify generates a unique application UUID
                  |
                  `-- <application-uuid>.cool.wzhecnu.cn
                           |
                           `-- build, deploy, HTTPS, health checks, and rollback history
The default address is an unambiguous UUID subdomain instead of a hand-picked name. A project can bind its own custom domain after validation.
Note
Coolify records the generated application address internally. End users should always open the https:// public URL and do not need to know the underlying proxy or DNS implementation.
What a user does
1. Create and push source
The demo is a deliberately small Dockerfile application. Its minimal entry point needs only an index.html, Nginx configuration, and Dockerfile:
FROM nginx:1.27-alpine
COPY nginx.conf /etc/nginx/conf.d/default.conf
COPY index.html /usr/share/nginx/html/index.html
EXPOSE 80
Push it to Git:
git init -b main
git add .
git commit -m "feat: first public page"
git remote add origin https://github.com/OWNER/REPOSITORY.git
git push -u origin main
2. Create a project and read its environment
Create the project, then read the production environment that Coolify creates. Every write requires an explicit --allow-write gate:
coolify --allow-write project-create "My website" \
  --description "Public website"

coolify project PROJECT_UUID
The second command returns environments; take the UUID for production.
3. Generate a side-effect-free plan
The important detail is to omit --domain. The plan explicitly contains "autogenerate_domain": true, asking the platform's cool domain pool for a unique address:
coolify website-plan \
  --project-uuid PROJECT_UUID \
  --server-uuid SERVER_UUID \
  --environment-uuid ENVIRONMENT_UUID \
  --repository-url https://github.com/OWNER/REPOSITORY.git \
  --build-pack dockerfile \
  --port 80 \
  --health-check-path /health \
  --name my-website
4. Create and deploy after confirmation
After confirming the project, server, environment, repository, and build pack, run the same parameters:
coolify --allow-write website-create \
  --project-uuid PROJECT_UUID \
  --server-uuid SERVER_UUID \
  --environment-uuid ENVIRONMENT_UUID \
  --repository-url https://github.com/OWNER/REPOSITORY.git \
  --build-pack dockerfile \
  --port 80 \
  --health-check-path /health \
  --name my-website \
  --deploy
The returned application UUID is the stable identifier for reading the allocated domain, status, deployment history, and future deployments:
coolify application APPLICATION_UUID
coolify deployments APPLICATION_UUID
coolify --allow-write deploy APPLICATION_UUID
The fqdn field from application is the Coolify-allocated address; the public ingress upgrades HTTP to HTTPS automatically.
How a source update goes live
The final automatic release in this case followed this path:
- Change the Release copy in
index.html. - Run
git commitandgit push origin main. - The GitHub push webhook notifies Coolify automatically.
- Coolify queues, builds, and completes that commit; the deployment record has
is_webhook=true. - The same HTTPS address returns Release 4 and
/health. coolify deployments APPLICATION_UUIDreports that commit asfinished.
A repository with a configured Git-provider webhook needs no Agent or user deploy call after a push. Without a webhook, an authorized user can still trigger deployment through the Coolify UI or explicit coolify --allow-write deploy; neither path changes the platform-allocated URL.
Acceptance checklist
curl --fail https://APPLICATION_UUID.cool.wzhecnu.cn/health
curl --fail https://APPLICATION_UUID.cool.wzhecnu.cn/
coolify deployments APPLICATION_UUID
Confirm that:
- the allocated URL is reachable after first deployment;
- the HTTPS certificate covers the tenant subdomain;
- a new source commit creates a new deployment record;
- the same URL returns the new page;
- health checks, failures, and older deployments remain readable;
- no per-project DNS or reverse-proxy edit is necessary.
Safety boundary
--allow-writeis a local ChatCoolify guard, not a replacement for Coolify token authorization.- Ordinary users can operate only Teams and resources they are allowed to access; automatic domains do not grant cross-Team access.
- Automatic tenant domains are for fast deployment and demonstration. Review production custom domains, OAuth callbacks, and cookie-domain rules separately after the application is verified.